The first constructive step, as opposed purely to activities related to demolition, was to paint the ceiling. This turned out to be a significant undertaking for several reasons:
- The bare wood of joists and subfloor was very dry, and absorbent. It soaked up undercoat and paint – 12 gallons of primer/sealer and then 15 gallons of matte black
- The space is full of mechanical services; electrical conduit, water pipes, and HVAC ductwork. Painting above and around these is challenging
- Paint applied above your head falls onto it, because gravity
I bought a high pressure airless sprayer for the job, and couldn’t have asked for it to work better than it did. It was still just a bear of a job, the air was full of paint mist, the work lights got covered and dim, my visor was smeared and opaque.
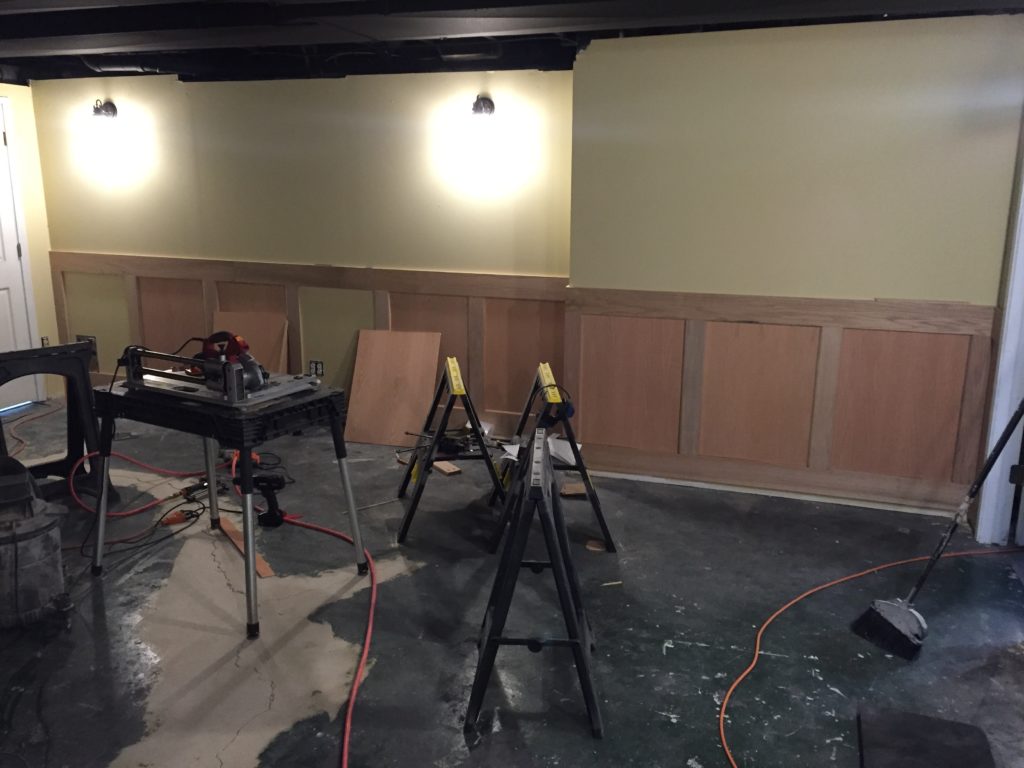
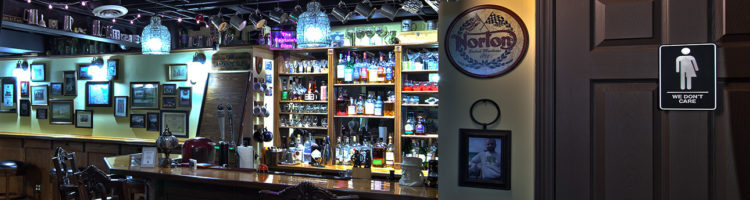
After finishing with the ceiling, and painting the walls Rubber Band Tan (a close approximation to the tobacco stained pub walls of Britain) it was time for wood paneling. We’d decided early on that wood paneling made the most sense to capture the feel of a British pub, so the question was how most easily to make it? We started by experimenting with sizes of lumber and the proportions of the panels. I made up test panels with different woods, and stained each corner a different shade/colour, in order to best assess the finished look. I really didn’t want to have to do this over again.
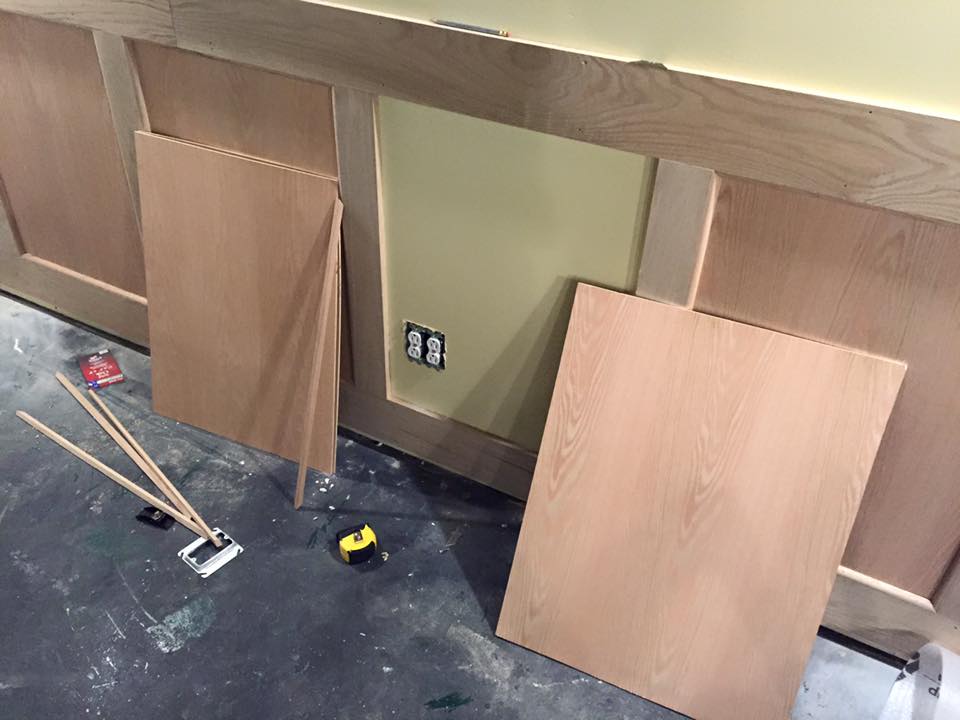
Having got the dimensions right we picked Oak for the wood; it’s pricey but would give us the look we wanted. I made rail & stile frames using Kreg pocket-hole screw joints (having seen this on New Yankee Workshop), and then installed the ladder-like frame to the wall. I cut panels for the infill from 1/4″ Oak ply.

Once the panels are fitted the edge of the frame is fitted with 1/2″ quarter round Oak strips to give the look of a raised panel door. This Turned out to be quite a practical approach, and gave a good result. Note that the panels don’t rest on the floor, I left a gap so that there’s be no risk of moisture wicking up from the concrete and so as to make the eventual installation of a floating laminate floor easier to trim.
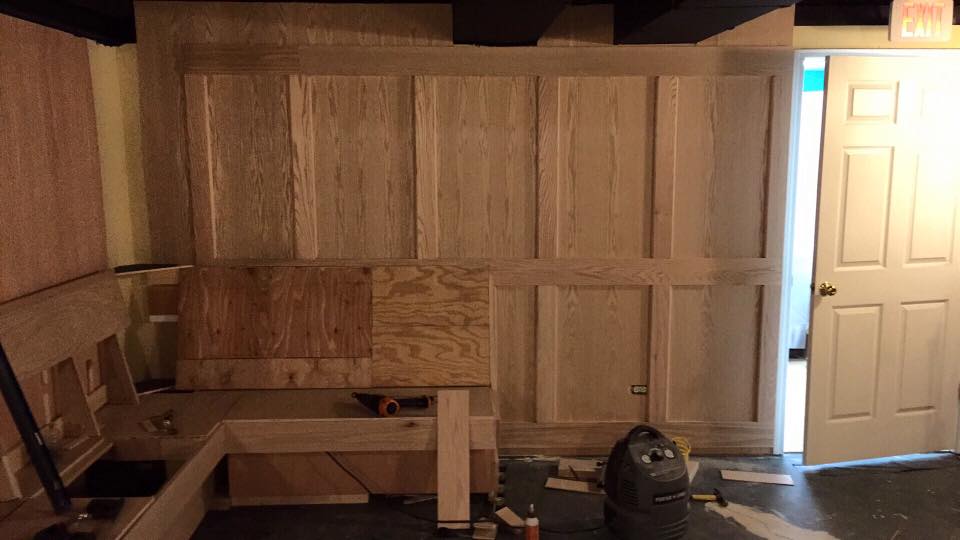
The largest of the panels was for the wall from the door to the corned behind the built in seating. I made this face down on the floor as a single frame, securing the pocket hole screws from behind, and then with Tracey’s help lifted it into place on the wall. The built in bench was also built from a series of Pine frames, all secured with pocket-hole screws, and clad with more of the Oak plywood.
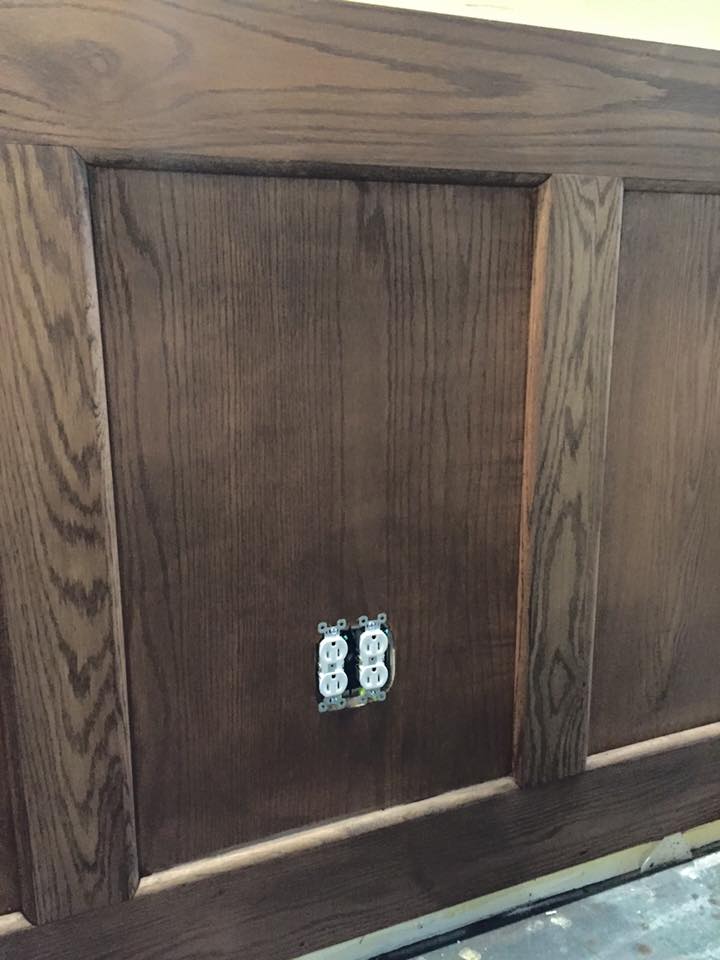
Prior to varnishing the panels were stained with Dark Walnut penetrating stain. Tracey and I wiped this on with disposable cloths, wiping off the excess. This gave the dark look we wanted but still allowed the natural wood grain to show. We’d eventually treat them to a hand wiped varnish finish – a number of light coats.